Cost Factors You Didn’t Know About: What Raises/Lowers Drywall Project Price in Western MA
September 26, 2025
Introduction
If you’re planning a remodel or new build in Western Massachusetts, drywall installation will almost certainly be part of the project. But when homeowners request quotes, many are surprised by how much drywall costs can vary.
Why does one project cost more than another—even if the square footage looks similar? The truth is, several hidden cost factors can raise or lower the final price of drywall installation. Understanding these details helps you budget more accurately, avoid surprises, and make smart choices during your renovation.
In this article, we’ll break down the key factors that influence drywall pricing, highlight local considerations in Western MA, and share ways you can manage costs without sacrificing quality.
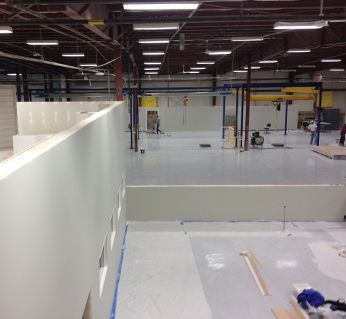
What determines drywall project cost?
While the size of the project is the biggest factor, there are many details that impact pricing. Here are some of the most important cost drivers:
- Drywall thickness and type – Standard ½-inch drywall is the most affordable. Fire-rated (Type X), moisture-resistant, or acoustic drywall adds to the price.
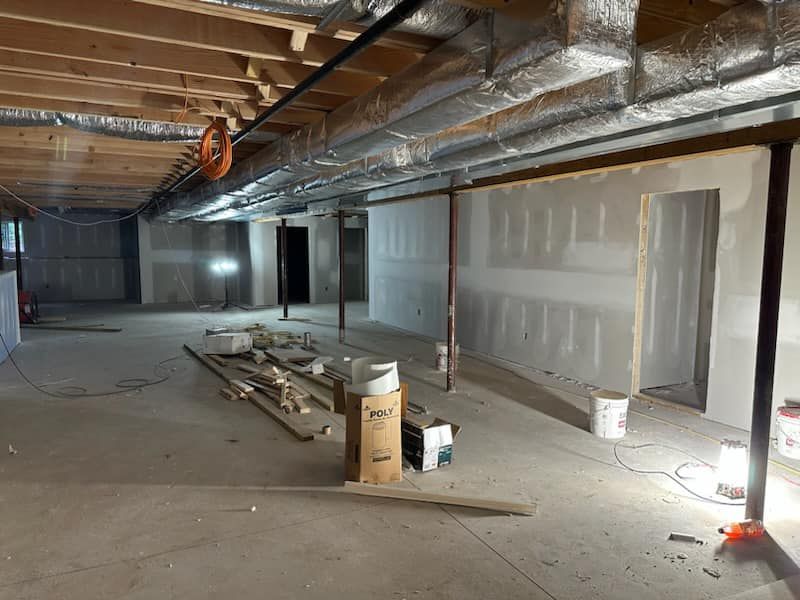
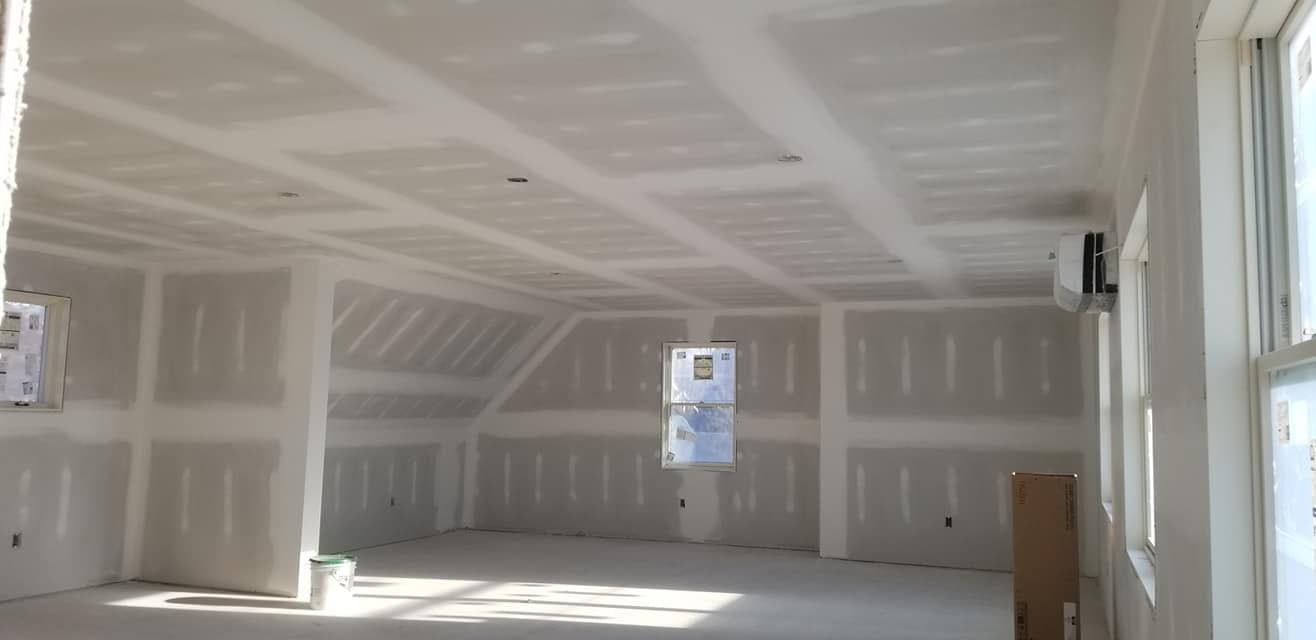
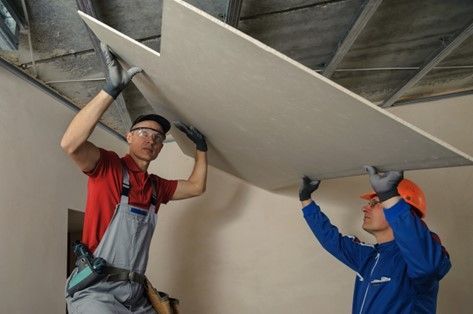
- Ceiling height – Taller walls require longer sheets, extra labor, and sometimes scaffolding.
- Number of corners and cutouts – Complex layouts with lots of windows, doors, and corners increase labor time.
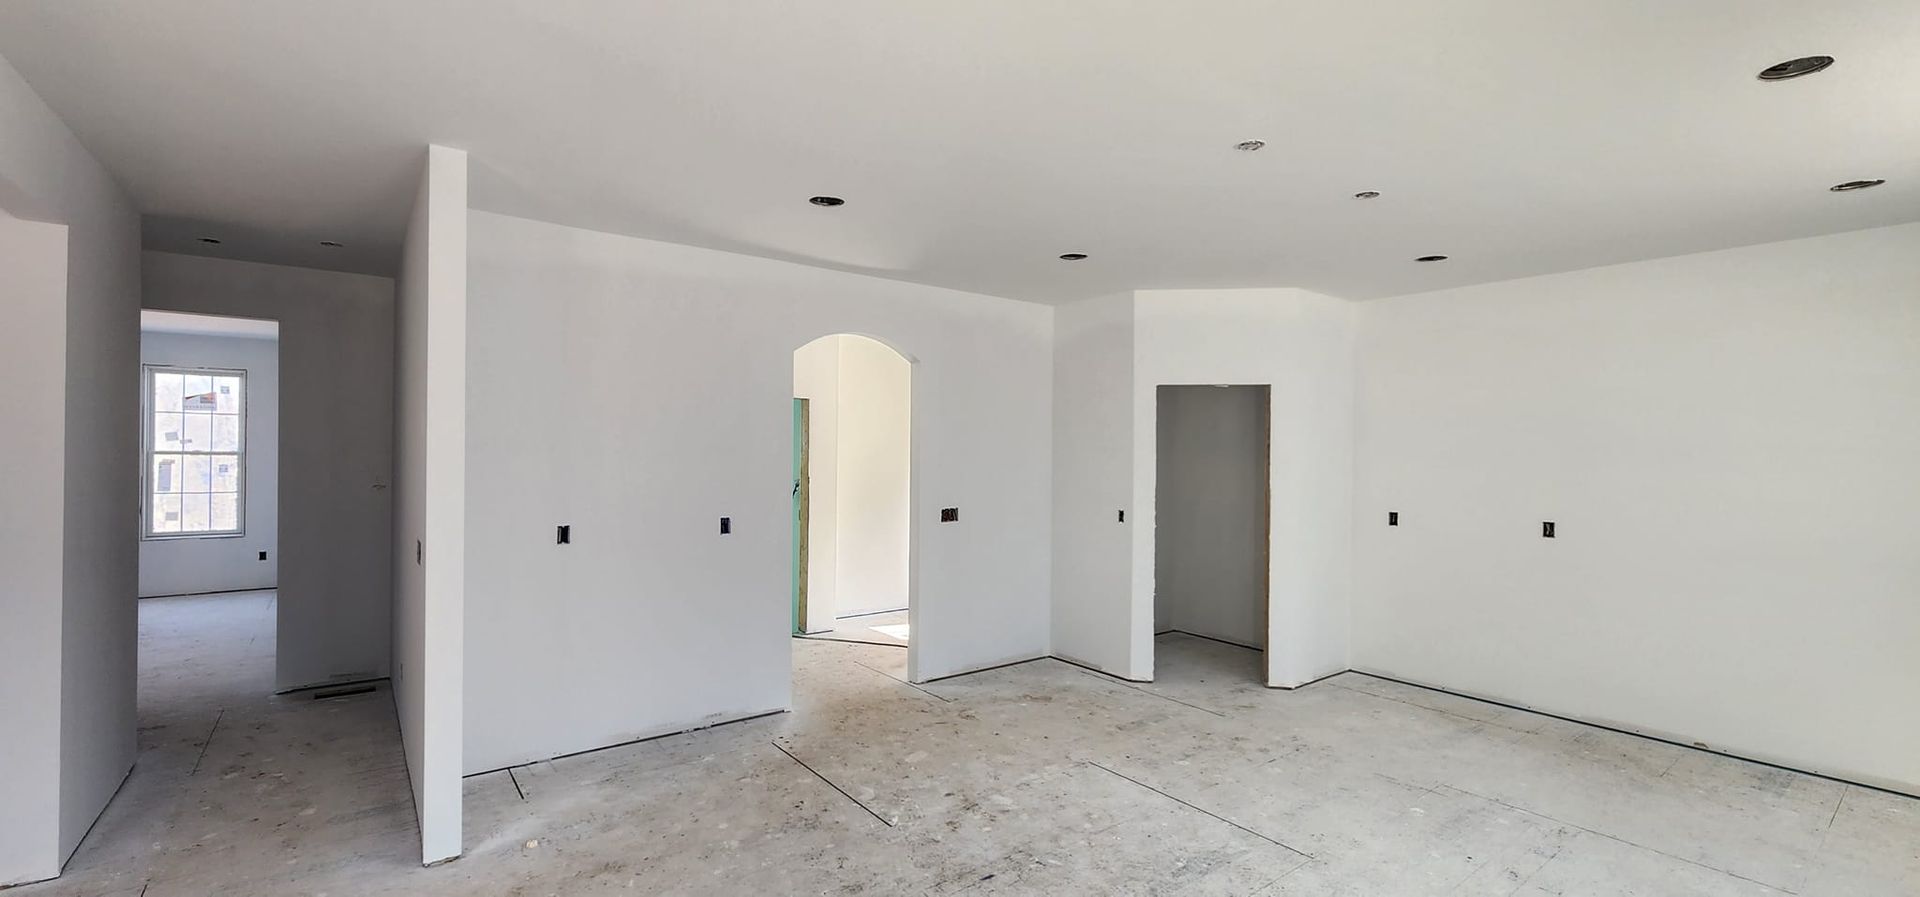
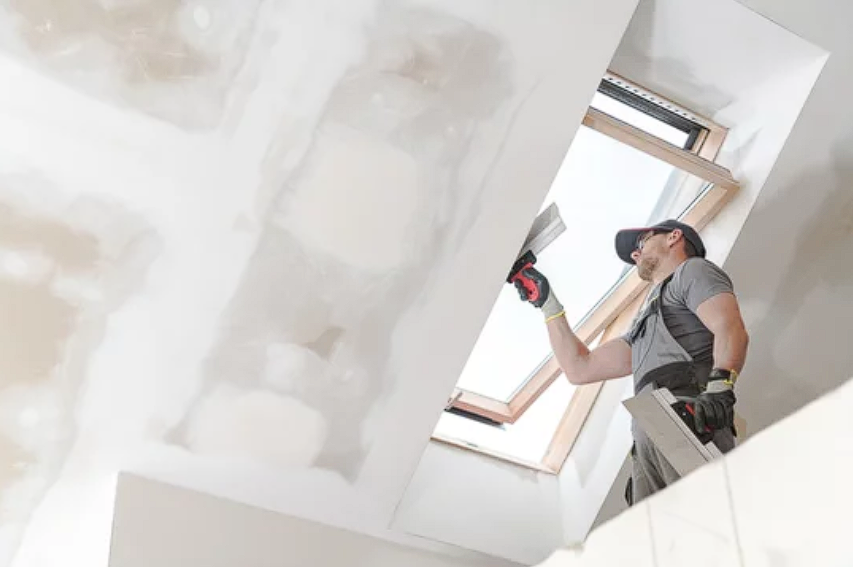
- Finishing level – Smooth, paint-ready finishes take more coats, sanding, and labor than basic finishes.
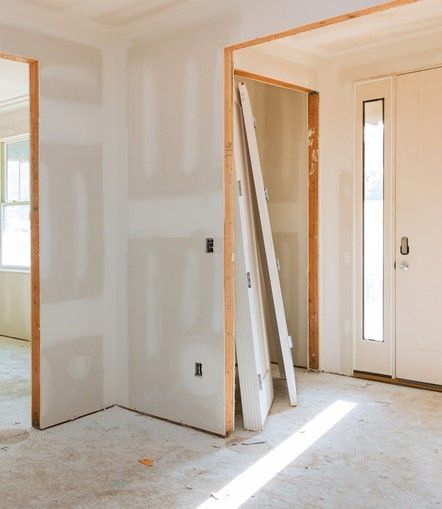
- Repairs vs. new installation – Patching old walls or matching textures in older Easthampton homes can take more time than hanging fresh sheets in new construction.
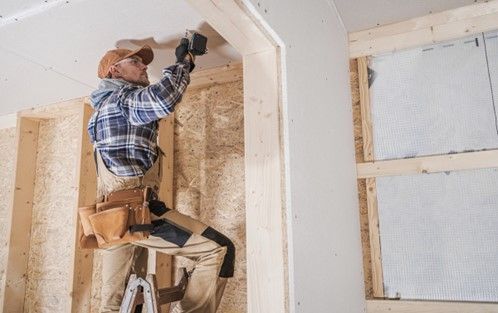
- Accessibility of the work area – Tight staircases, basements, or upper floors may require special handling and increase labor.
- Waste and material handling – Cutting around odd spaces creates waste, which factors into material costs.
For Western MA homeowners, local conditions like older framing, plaster-to-drywall transitions, and seasonal humidity can also influence both material choice and labor requirements.
How to manage drywall costs without sacrificing quality
Here’s a step-by-step guide to keeping costs under control:
Step 1: Choose the right drywall type for the room
- Standard drywall works well in living areas.
- Moisture-resistant drywall is essential for bathrooms and laundry rooms.
- Fire-rated drywall may be required by code for garages and multi-unit buildings.
Selecting the right type ensures you don’t overspend on specialty drywall where it’s not needed.
Step 2: Simplify design when possible
Fewer corners, bulkheads, and cutouts mean faster installation. If you’re still in the design stage, simplifying wall layouts can help reduce drywall costs.
Step 3: Consider finish levels carefully
Drywall finish levels range from Level 1 (basic tape and mud) to Level 5 (highest-quality smooth finish). A Level 5 finish is beautiful but not always necessary—using it only in high-visibility areas helps balance quality and budget.
Step 4: Prep your space
Clearing out rooms, covering floors, and ensuring framing is complete before installers arrive reduces wasted labor time and helps keep quotes lower.
Step 5: Get local expertise
Older homes in Easthampton and surrounding towns often come with quirks—uneven walls, old plaster, or hidden repairs. A local contractor familiar with these conditions can provide a more accurate quote upfront and prevent unexpected costs later.
FAQs
Why does drywall cost more in some rooms than others?
Bathrooms, kitchens, and garages often require moisture- or fire-resistant drywall, which costs more than standard panels. Ceilings and high walls also increase labor costs.
Is thicker drywall always more expensive?
Yes. Thicker sheets cost more in both materials and labor since they’re heavier and harder to install.
Does drywall finishing affect cost a lot?
Absolutely. A higher-level finish requires more coats, sanding, and detail work, which adds to labor costs.
What’s cheaper—repairing drywall or replacing it?
Small repairs are less expensive, but large damaged sections may be more cost-effective to replace entirely. Matching texture in older homes can also increase repair costs.
How much does drywall cost per square foot in Western MA?
Costs vary depending on project size and complexity, but most homeowners in the region can expect between $1.50–$3.50 per square foot installed, including materials and labor.
Conclusion
Drywall pricing isn’t just about square footage—it’s shaped by drywall type, finish level, room design, accessibility, and even the age of your home. By understanding these cost factors, you can budget more effectively and make informed decisions about your remodel.
For homeowners in Easthampton and throughout Western Massachusetts, working with a professional drywall contractor ensures accurate estimates, proper material selection, and long-lasting results. The right preparation and guidance will not only save money but also guarantee walls and ceilings that look flawless for years to come.