How to Prepare Your Home for Drywall Installation During a Remodel
September 15, 2025
Introduction
Remodeling is an exciting time for homeowners in Western Massachusetts, but it can also feel overwhelming. Between planning layouts, selecting finishes, and scheduling contractors, one critical step often gets overlooked: preparing your home for drywall installation.
Proper preparation not only helps your drywall team work more efficiently, but it also ensures a cleaner, smoother, and faster installation process. In this article, we’ll break down why preparation matters, what steps to take before your drywall installers arrive, and how this process protects your investment during a remodel.
Why preparation matters before drywall installation
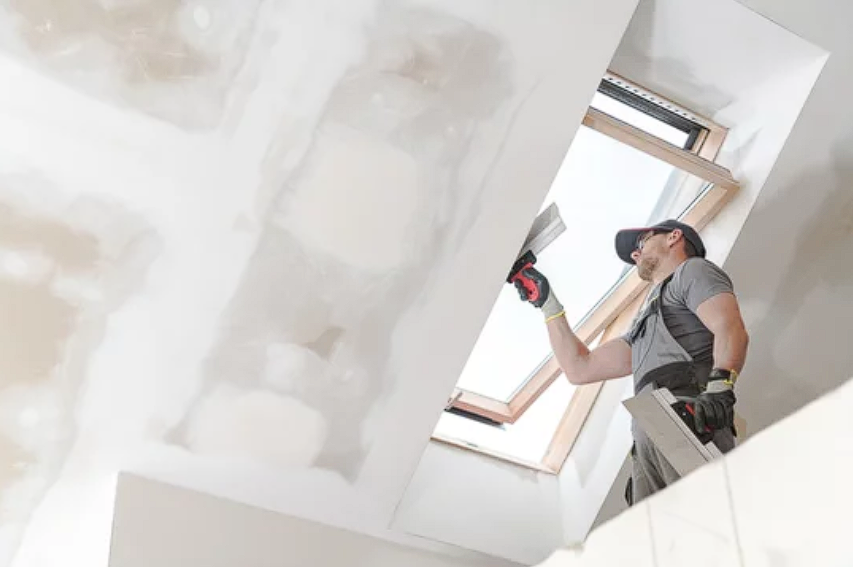
Drywall installation may seem straightforward—hang, tape, and finish—but the quality of the results depends heavily on how well the space is prepared ahead of time.
Benefits of preparing your home include:
- Efficiency: Installers can get straight to work without delays.
- Cleanliness: Protects furniture, floors, and HVAC systems from dust and debris.
- Safety: Reduces hazards for both contractors and homeowners.
- Durability: Ensures drywall is installed in the right conditions for long-lasting results.
For homeowners in Easthampton and surrounding towns, these benefits are especially important since many older homes come with quirks—like uneven framing or limited space—that require extra care before drywall work begins.
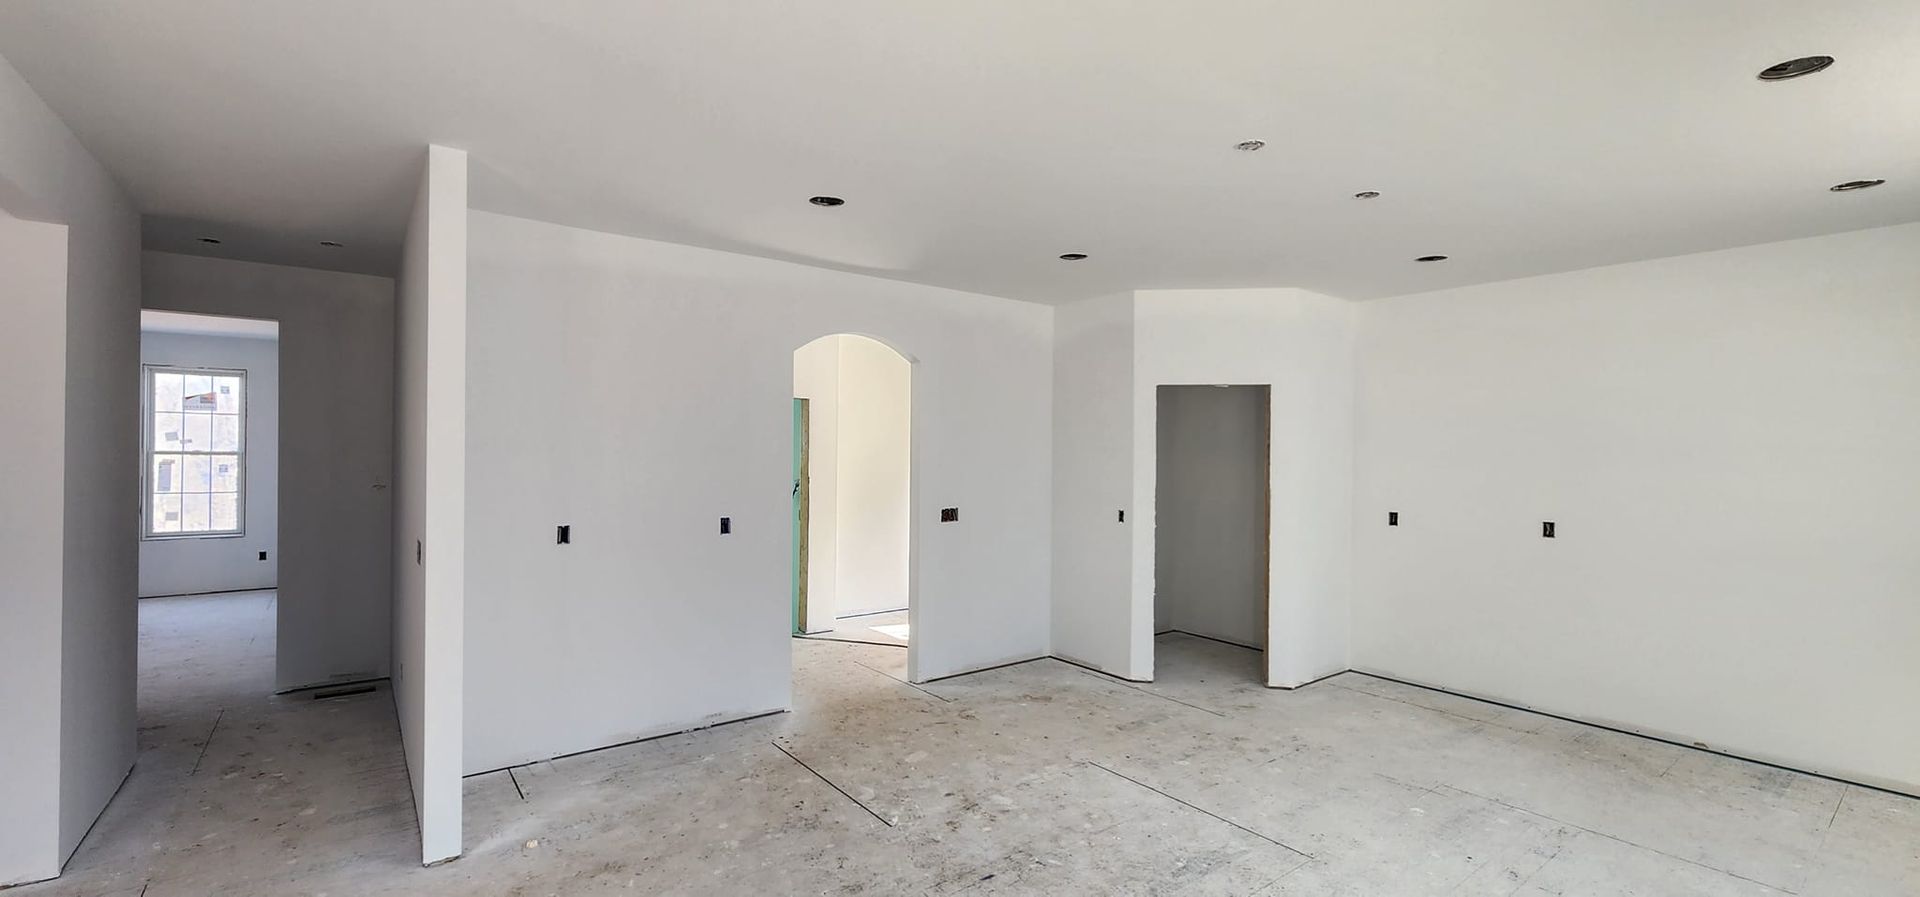
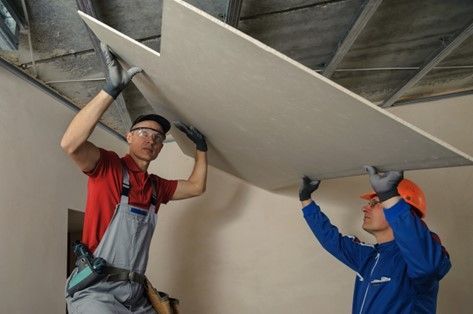
How to prepare your home: step-by-step
Step 1: Clear the space
Drywall work creates dust and requires room to maneuver large sheets. Remove all furniture, décor, and personal belongings from the work area. If something can’t be moved, cover it securely with plastic sheeting.
Step 2: Protect floors and adjacent rooms
Lay down drop cloths or floor protection to prevent scratches and dust buildup. Seal doorways with plastic to keep dust from spreading to other areas of the house.
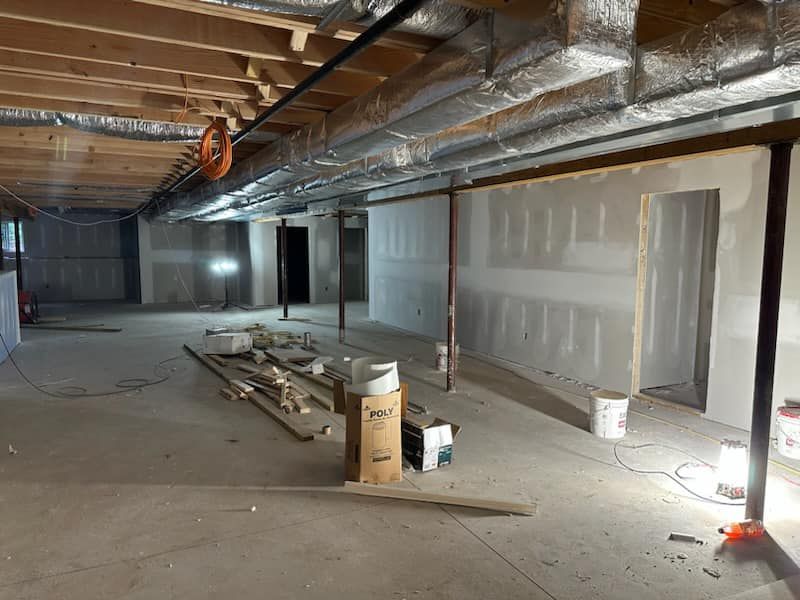
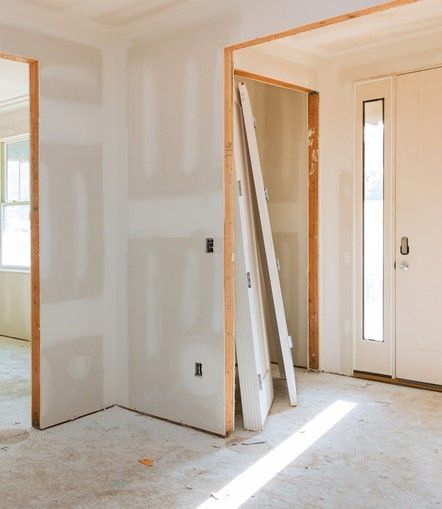
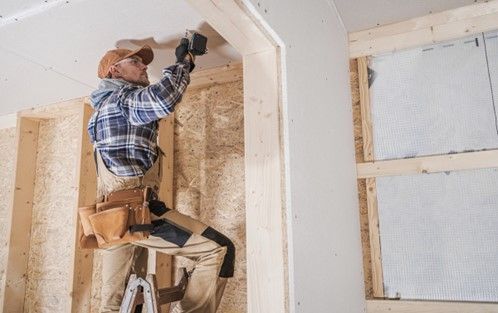
Step 3: Ensure framing and utilities are complete
Before drywall goes up, all framing, plumbing, and electrical work should be finished. This includes wiring for outlets, light fixtures, and HVAC systems. Once drywall is installed, changes to utilities are far more disruptive and expensive.
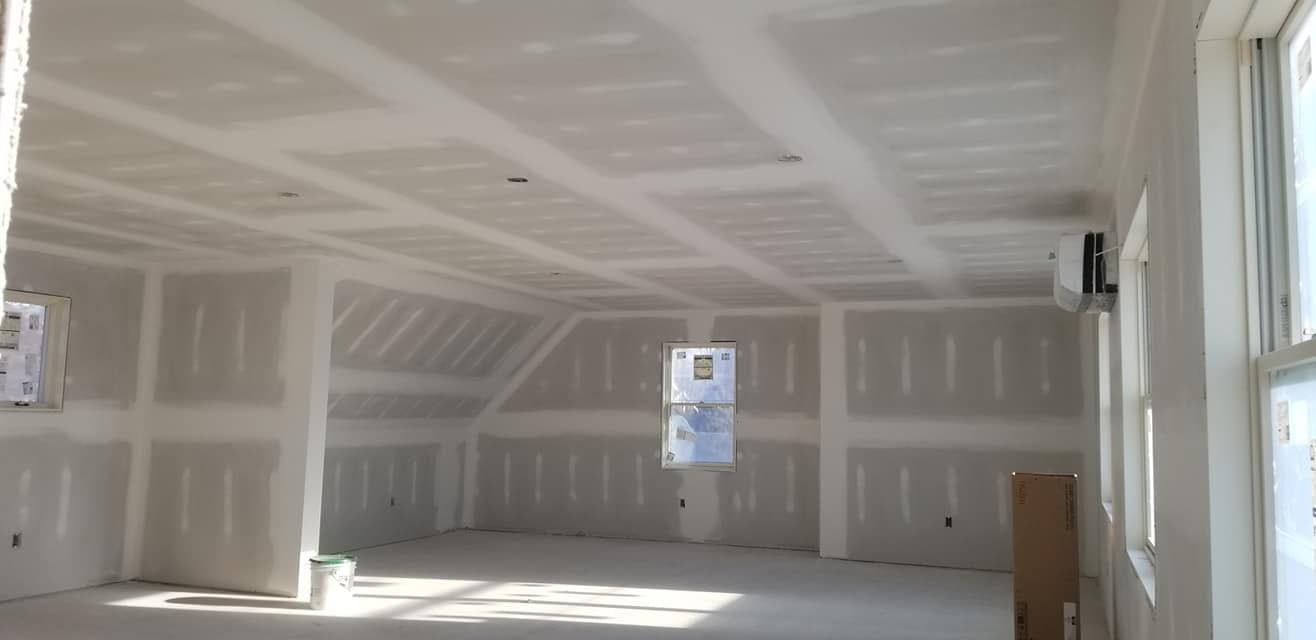
Step 4: Check for moisture or insulation issues
Moisture is drywall’s enemy. Inspect walls and ceilings for leaks, and confirm insulation is properly installed. Address any water or mold concerns before drywall installation begins.
Step 5: Provide clear access for installers
Installers will need easy access to the work area. Clear hallways, staircases, and entrances of clutter to make moving large drywall sheets safe and efficient.
Step 6: Plan for ventilation and dust control
Drywall sanding generates fine dust. Open windows where possible, use fans to direct airflow, and consider temporarily sealing HVAC vents in the work area to prevent dust from spreading through your system.
Step 7: Communicate with your contractor
Discuss your remodel goals, finishes, and any special considerations (like soundproofing or fire-resistant drywall) before work begins. A clear plan saves time and avoids miscommunication.
FAQs
Do I need to remove all furniture before drywall installation?
Yes, it’s best to clear the space completely. If items are too large to move, they should be covered securely with plastic.
How messy is drywall installation?
It can be dusty, especially during sanding. Proper preparation—such as sealing off rooms and covering floors—will minimize cleanup.
Can drywall be installed in a home with ongoing electrical or plumbing work?
No. All utilities should be completed before drywall goes up. Otherwise, cutting into new drywall will be required, adding time and cost.
How long does drywall installation usually take?
It depends on the size of the project, but most residential installations take a few days to a week, including hanging, taping, and finishing.
Should I prime the drywall myself before painting?
Most drywall contractors will finish and prepare walls for priming. Priming should be done after finishing is complete to ensure even paint coverage.
Conclusion
Preparing your home properly before drywall installation can make a significant difference in the quality and efficiency of your remodel. By clearing space, protecting surfaces, ensuring utilities are complete, and communicating with your contractor, you set the stage for a smoother process and longer-lasting results.
For homeowners in Easthampton and across Western Massachusetts, Frenchie Drywall provides expert drywall installation with an emphasis on professionalism and quality finishes. Preparing your home well ensures our team can deliver the flawless results you’re looking for.