Avoid Common Drywall Repair Mistakes: Expert Tips Inside
June 5, 2024
Common Drywall Repair Mistakes and How to Avoid Them
Drywall repair might seem simple, but it's easy to make mistakes. These errors can lead to unsightly walls and even structural issues. Knowing what to avoid can save you time, money, and frustration. In this guide, we'll walk through common drywall repair mistakes and how to fix them.
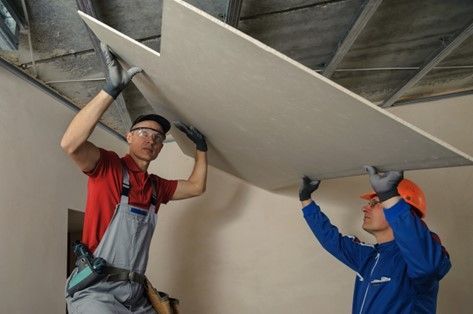
Mistake 1: Using the Wrong Type of Drywall
Drywall comes in various types, each suited for different applications. Using the wrong type can lead to complications.
Different areas in your home require different types of drywall. For instance, moisture-resistant drywall is essential for bathrooms and kitchens, while fire-resistant drywall is crucial for garages and utility rooms. Using standard drywall in these areas can result in mold growth or fire hazards.
Solution
Always choose the right drywall for the job. For wet areas, use moisture-resistant or green board drywall. For areas that require extra fire protection, use fire-resistant drywall. Check the specifications and consult with a professional if you're unsure which type to use.
Mistake 2: Incorrect Measurements
Accurate measurements are crucial in drywall repair. Mistakes here can lead to gaps, uneven surfaces, and a lot of wasted material.
Inaccurate measurements result in pieces that don’t fit properly, causing unsightly gaps or overlapping seams. These issues not only look bad but can also compromise the structural integrity of your walls.
Solution
Measure twice, cut once. Use a tape measure and mark your measurements clearly before cutting. Ensure you’re measuring both the height and width of the space, and always account for any obstacles like electrical outlets or light switches. Double-check your measurements to ensure accuracy.
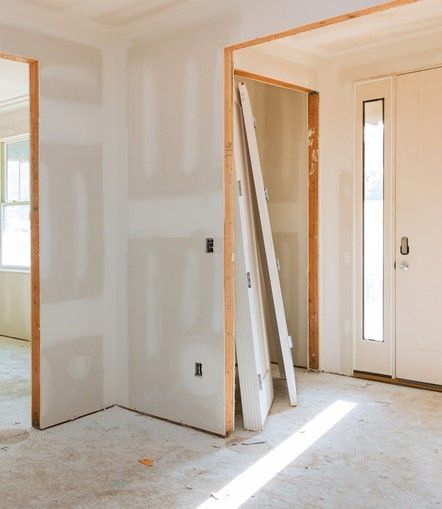
Mistake 3: Failing to Properly Prepare the Surface
Proper surface preparation is key to a smooth and long-lasting drywall repair. Skipping this step can lead to poor adhesion and an uneven finish.
Surface preparation includes cleaning the area, removing old tape and compound, and ensuring the surface is dry and free of dust. Ignoring these steps can result in the new drywall compound not sticking properly, leading to cracks and bubbles.
Solution
Start by cleaning the repair area thoroughly. Remove any loose debris, dust, or old compound. Use a damp cloth to wipe down the area and let it dry completely. If there are any holes or cracks, fill them with a suitable filler and let it cure. Sand the area to create a smooth surface for the new compound to adhere to.
Mistake 4: Over-sanding or Under-sanding
Sanding is a crucial step in drywall repair. Both over-sanding and under-sanding can ruin your repair job.
Over-sanding can create depressions in the drywall, making the surface uneven. Under-sanding leaves rough spots and visible seams. Both issues can affect the final look of your wall once painted.
Solution
Sand with care. Use a fine-grit sandpaper and sand lightly in circular motions. Check your work frequently to ensure you’re not overdoing it. The goal is to create a smooth, even surface that blends seamlessly with the surrounding wall. Sand until the repaired area feels smooth to the touch and looks even.
Mistake 5: Using the Wrong Type of Joint Compound
Choosing the correct joint compound is vital for a durable repair. Different types of compounds serve different purposes.
There are several types of joint compounds: lightweight, all-purpose, and setting-type compounds. Using the wrong type can lead to poor adhesion, cracking, or difficulty in sanding.
Solution
Select the right compound for your specific repair needs. Lightweight compound is good for smaller repairs and easy sanding. All-purpose compound works for most repairs and finishing coats. Setting-type compound, which hardens quickly, is ideal for deep fills and fast turnaround. Always read the product labels and choose accordingly.
Mistake 6: Ignoring Drying Times
Rushing the drying process can compromise the quality of your drywall repair. Each layer needs adequate time to dry before moving on to the next step.
If you don’t allow enough time for the joint compound to dry, it can result in cracks and uneven surfaces. This mistake often happens when people are in a hurry to finish the repair.
Solution
Be patient and follow the recommended drying times on the joint compound packaging. Typically, each layer of compound needs 24 hours to dry completely. Ensure the room is well-ventilated to help speed up the drying process. Use fans or a dehumidifier if necessary to maintain proper conditions.
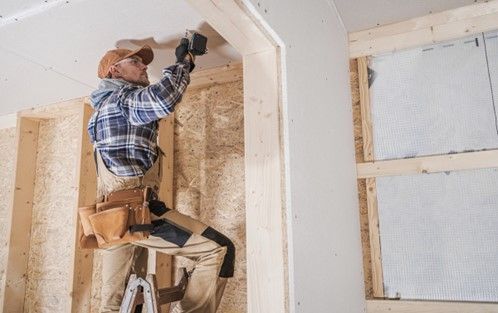
Mistake 7: Poor Taping Techniques
Taping is essential for a seamless drywall repair. Poor taping can cause cracks and visible seams.
Improper taping can lead to bubbles, wrinkles, and weak joints. These issues can become more pronounced over time, leading to a noticeable and unsightly finish.
Solution
Use quality drywall tape and apply it correctly. Start by applying a thin layer of joint compound over the seam. Place the tape on top of the compound and press it down firmly, ensuring there are no bubbles or wrinkles. Cover the tape with another thin layer of compound, smoothing it out with a taping knife. Allow it to dry completely before adding additional layers of compound.
Mistake 8: Skipping the Primer
Skipping primer can ruin the finish of your drywall repair. Primer ensures that the paint adheres properly and looks even.
Without primer, the paint can absorb unevenly, resulting in a blotchy finish. It can also cause the repaired area to stand out from the rest of the wall, especially if the new compound absorbs paint differently than the old surface.
Solution
Always apply a primer before painting your repaired drywall. Use a high-quality drywall primer to ensure the paint adheres evenly. Apply the primer with a roller for a smooth finish and allow it to dry completely before painting. This step is crucial for achieving a professional look.
Mistake 9: Not Blending the Repair with Existing Wall
Blending the repair with the existing wall is crucial for an invisible finish. Failure to do so can make the repair stand out.
If the repaired area isn’t blended properly, it can look patched and obvious. This is especially noticeable in areas with textured walls or when using different paint finishes.
Solution
Feather the edges of the joint compound to blend it smoothly with the surrounding wall. Use a wider taping knife for this purpose. Sand the edges gently to ensure a seamless transition. When painting, use the same paint and finish as the existing wall. Apply the paint with a roller to match the texture and blend the repaired area effectively.
Conclusion
Repairing drywall might seem easy, but common mistakes can make it a daunting task. Using the wrong type of drywall can lead to mold or fire hazards. Incorrect measurements cause gaps and wasted material. Skipping proper surface preparation results in poor adhesion. Over-sanding or under-sanding ruins the finish. Choosing the wrong joint compound leads to cracks and poor durability. Ignoring drying times causes uneven surfaces. Poor taping techniques lead to weak joints and visible seams. Skipping primer results in a blotchy paint finish. Not blending the repair with the existing wall makes the patch obvious.
Each mistake has a straightforward fix. Choose the right drywall, measure accurately, prep your surface, sand carefully, pick the right compound, allow proper drying, tape well, use primer, and blend repairs smoothly. Following these steps ensures a professional finish and long-lasting results.
Call to Action
Don't let drywall repair mistakes ruin your walls. Trust the experts at Frenchie Drywall. As the premier drywall contractor in Easthampton, Springfield, Chicopee, and the surrounding areas, we offer top-quality residential and commercial drywall services, including installation and interior painting. With years of experience and expertise, we ensure your walls look flawless.
Contact Frenchie Drywall today for a free consultation and let us handle your drywall and painting needs. Your satisfaction is our priority.